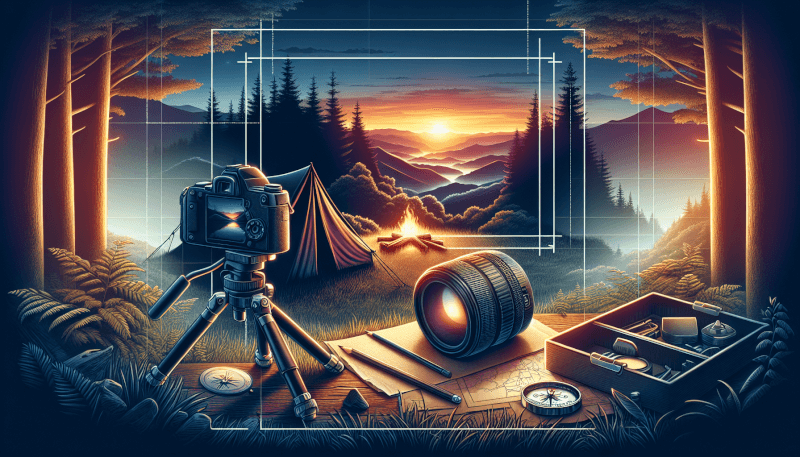
Imagine spending a peaceful weekend surrounded by the beauty of nature, capturing breathtaking photos that perfectly encapsulate the serenity and wonder of your camping experience. In this article, we will share with you the top camping photography tips that will help you elevate your nature photography game. Whether you’re a seasoned photographer or a beginner just starting out, these tips will help you capture the true essence of nature’s beauty and create stunning images that will leave you in awe. So grab your camera and let’s embark on a journey of capturing nature’s wonders through the lens.
Choosing the Right Camera Equipment
When it comes to capturing stunning photos of nature during your camping adventures, choosing the right camera equipment is vital. The first step is to select the right camera that suits your needs and preferences. Consider factors like resolution, sensor size, and image quality. Whether you opt for a DSLR, mirrorless camera, or even a high-end smartphone, ensure that it fits comfortably in your hand and is easy to use.
Selecting the Right Camera
When selecting a camera for camping photography, it’s essential to consider factors such as durability, weather-sealing, and portability. Since you’ll be spending time outdoors, your camera should be able to withstand various weather conditions and rugged environments. Look for cameras that are lightweight and compact, making them easier to carry during your camping adventures.
Choosing the Ideal Lenses
Choosing the right lenses is crucial for capturing the beauty of nature in all its glory. Wide-angle lenses are great for landscapes, as they allow you to capture expansive scenes. Telephoto lenses are perfect for wildlife photography, as they enable you to get close-up shots of animals from a safe distance. Consider investing in a versatile zoom lens as well, which allows you to have a range of focal lengths at your disposal.
Packing Essential Accessories
In addition to your camera and lenses, there are a few essential accessories you should pack for your camping photography expedition. A sturdy tripod is a must-have, as it provides stability and allows you to capture long exposure shots or take self-portraits. Don’t forget spare batteries and memory cards to ensure you never miss a perfect shot. Additionally, bring lens filters that can help enhance your photos and protect your lenses from scratches and dust.
Understanding Lighting and Exposure
Mastering lighting and exposure is fundamental to capturing breathtaking photos of nature. It’s crucial to take advantage of natural light, which creates stunning, soft tones in your images. Understanding the exposure triangle (aperture, shutter speed, and ISO) is vital for achieving proper exposure in different lighting conditions. Additionally, using filters can add creative effects to your photos and enhance their overall visual appeal.
Utilizing Natural Light
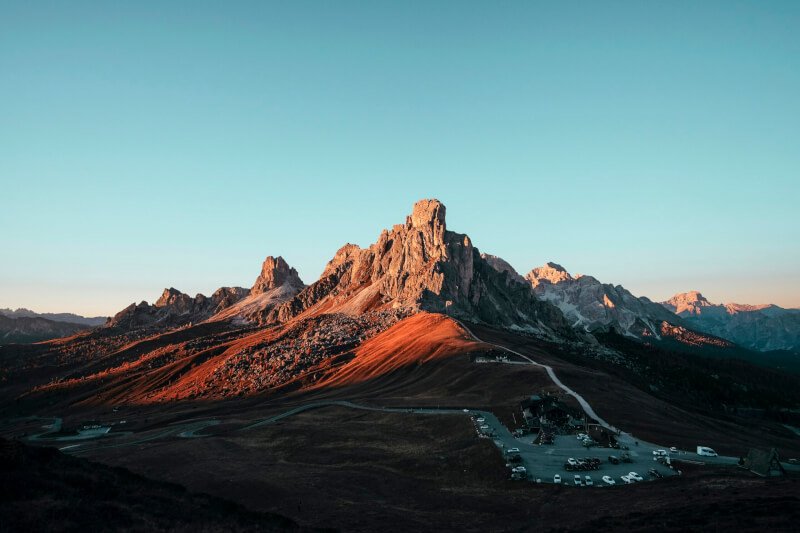
One of the most important aspects of capturing beautiful nature photography is understanding and utilizing natural light. The warm, soft light of sunrise and sunset, often referred to as the golden hour, creates a magical glow that adds depth and beauty to your photos. This time of day is perfect for capturing landscapes, as the long shadows and vibrant colors create a stunning visual display. The blue hour, which occurs just before sunrise and after sunset, offers a unique opportunity to capture moody and ethereal images. Experiment with different times of day and make the most of the available natural light.
Mastering Exposure Triangle
Understanding the exposure triangle is essential for achieving well-exposed photos, regardless of the lighting conditions. Aperture, shutter speed, and ISO work together to control the amount of light that enters the camera. The aperture determines the depth of field, or how much of the image is in focus. Shutter speed controls the amount of time the camera’s sensor is exposed to light, while ISO affects the camera’s sensitivity to light. Mastering this trio will enable you to adjust your camera settings to suit any lighting situation and achieve stunningly exposed photos.
Using Filters for Creative Effects
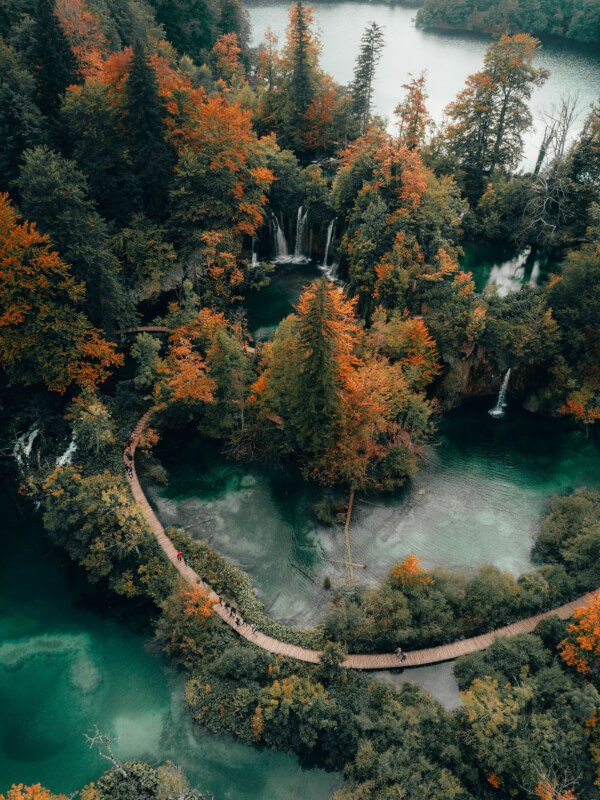
Filters are a powerful tool for enhancing your nature photography. They can help you achieve a variety of creative effects, such as adding warm or cool tones, reducing reflections, or emphasizing certain colors. Polarizing filters, for example, can reduce glare and enhance the saturation of colors, making them ideal for landscapes or water photography. Neutral density filters allow you to slow down the shutter speed, creating silky smooth waterfalls or blurring moving clouds. Experiment with different filters and see how they can transform your images.
Composition Techniques for Stunning Photos
Achieving stunning composition is key to capturing captivating photos of nature. By applying various composition techniques, you can enhance the visual appeal and impact of your images.
Rule of Thirds
The rule of thirds is a classic composition guideline in photography. Imagine dividing your frame into a 3×3 grid, and place your subject or points of interest along the lines or intersections. This creates a more balanced and visually interesting composition, drawing the viewer’s attention to the right areas of the image. Experiment with placing the horizon line or prominent elements of your photo along the grid lines to achieve a pleasing composition.
Leading Lines
Leading lines are powerful compositional elements that can guide the viewer’s eye through the image and create a sense of depth and dynamics. Look for natural lines in the landscape, such as paths, rivers, or tree branches, and compose your photo to incorporate these lines. They can lead the viewer’s gaze towards your main subject or create a sense of movement in the scene.
Framing and Layering
Framing and layering are techniques that add depth and dimension to your photos. Look for natural elements like tree branches, arches, or rocks that can frame your main subject, creating a sense of context and focus. Additionally, try layering various elements of the scene to add depth and interest. By including foreground objects, like rocks or flowers, you can create a three-dimensional effect that draws the viewer into the photo.
Including Foreground Interest
Adding foreground interest to your photos can enhance the overall composition and provide a sense of scale. Including elements like flowers, rocks, or a person in the foreground can add depth and make the viewer feel like they are part of the scene. Experiment with different perspectives and angles to find the perfect foreground elements that complement the main subject and add visual interest to your photos.
Capturing the Essence of Nature
To truly capture the essence of nature in your photos, it’s important to go beyond simply taking snapshots. By employing specific techniques and exploring unique perspectives, you can create images that evoke a sense of wonder and beauty.
Creating Depth with Foreground and Background
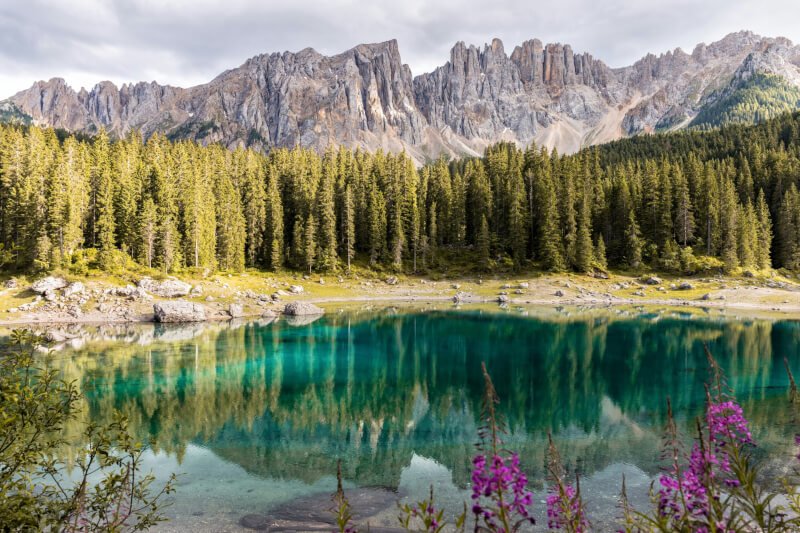
Creating a sense of depth in your nature photography is crucial to conveying the vastness and grandeur of the natural world. One way to achieve this is by including elements in the foreground, middle ground, and background of your photos. By carefully composing your scene and placing different elements at different distances from the camera, you can create layers that give a three-dimensional feel to your images.
Finding Unique Perspectives
To capture truly unique photos of nature, try to find and explore perspectives that aren’t commonly seen. Get down low and photograph subjects from a worm’s-eye view, or climb to a higher vantage point to capture a bird’s-eye view of the landscape. By experimenting with different angles and perspectives, you can create images that stand out and offer a fresh and captivating view of the natural world.
Showcasing Patterns in Nature
Patterns are prevalent in nature, and capturing them in your photos can yield stunning and visually striking images. Look for repetitive elements, such as rows of trees, ripples in water, or petals of a flower, and compose your photo to emphasize these patterns. Patterns add a sense of order and rhythm to your images, creating a visually pleasing composition.
Using Silhouettes and Shadows
Silhouettes and shadows are creative techniques that can add drama and mood to your nature photography. During the golden hour or sunset, position your subject against the bright sky to create a silhouette. This technique can highlight the shape and outline of your subject, making it stand out against the colorful sky. Shadows, on the other hand, can be used to create interesting and abstract compositions. Look for unique shadows cast by trees, rocks, or other elements and incorporate them into your photos for a touch of intrigue.
Selecting the Perfect Time of Day
The time of day plays a crucial role in the mood, lighting, and overall aesthetic of your nature photography. By understanding the different time periods and their unique qualities, you can choose the perfect time to capture stunning photos.
Golden Hour Photography
The golden hour, which occurs during the first hour after sunrise and the last hour before sunset, is renowned for its warm, soft light and vibrant colors. The low angle of the sun during these times creates long shadows and a magical glow, accentuating the texture and depth of the landscape. Golden hour photography is perfect for capturing landscapes, as well as portraits and wildlife photography.
Blue Hour Photography
The blue hour, also known as twilight, is that magical period just before sunrise and after sunset when the sky takes on a deep blue hue. The soft, diffused light during this time creates a serene and ethereal atmosphere, making it ideal for capturing moody and atmospheric photos. Blue hour photography can be particularly stunning when combined with water reflections or urban cityscapes.
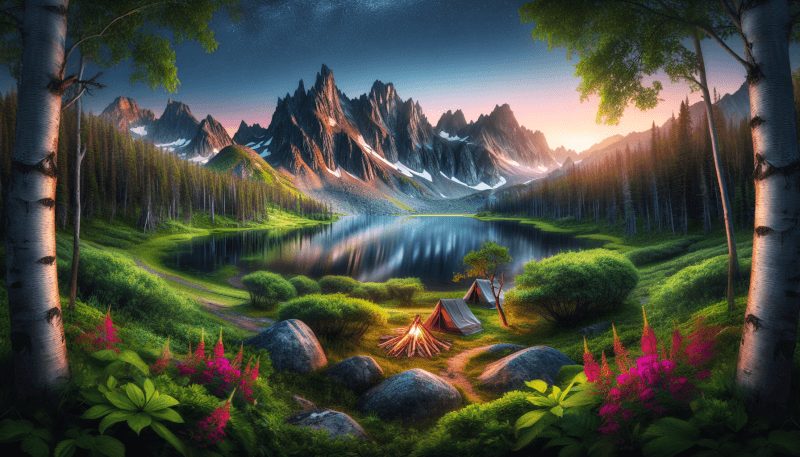
Night Sky Photography
Capturing the beauty of the night sky can be a rewarding and awe-inspiring experience. During clear nights, away from light pollution, you can capture stunning photos of stars, constellations, and even the Milky Way. Invest in a sturdy tripod to keep your camera steady for long exposure shots. Experiment with different shutter speeds, apertures, and ISO settings to achieve the desired effects. Night sky photography requires patience and practice but can result in breathtaking images of the cosmos.
Mastering Landscape Photography
Landscape photography allows you to capture the beauty and grandeur of natural landscapes. To achieve stunning landscape photos, it’s important to understand the specific techniques and settings that can bring out the best in your images.
Choosing the Right Settings
When it comes to landscape photography, choosing the right camera settings can make a significant difference in the final result. Begin by setting a low ISO to minimize noise and achieve maximum image quality. Use a narrow aperture (higher f-stop number) to achieve a larger depth of field, ensuring that both the foreground and background are in focus. Experiment with different shutter speeds, depending on the effect you want to achieve. Additionally, consider shooting in RAW format to retain more data and have greater flexibility during editing.
Using Tripods for Stability
To capture sharp, high-quality landscape photos, using a tripod is essential. A sturdy tripod provides stability and eliminates camera shake, especially when using longer shutter speeds or telephoto lenses. It allows you to compose your image precisely and makes it easier to capture multiple exposures for blending or HDR photography. Invest in a reliable tripod that can withstand the elements and provide the stability you need for your camping photography adventures.
Using Wide-angle Lenses for Vast Landscapes
Wide-angle lenses are a popular choice for landscape photography, as they allow you to capture the expansive beauty of nature. These lenses have a focal length of 35mm or less, providing a wider field of view and allowing you to include more of the scene in your frame. Wide-angle lenses are particularly useful when photographing vast landscapes or when you want to emphasize the foreground elements while still capturing the background.
Enhancing Depth and Details
To enhance the depth and details in your landscape photos, consider using techniques like focus stacking and exposure blending. Focus stacking involves taking multiple shots of the same scene, each with a different focal point. By blending these images together, you can achieve a greater depth of field, ensuring that both the foreground and background are sharp. Exposure blending, on the other hand, involves capturing multiple exposures of the same scene and blending them together to achieve a balanced exposure throughout the image. These techniques can help you capture landscape photos with outstanding depth, clarity, and visual impact.
Taking Macro Shots of the Smallest Wonders
Macro photography allows you to capture the intricate details and beauty of the smallest wonders in nature. From delicate flower petals to tiny insects, macro photography opens up a whole new world of photographic possibilities.
Selecting the Appropriate Macro Lens
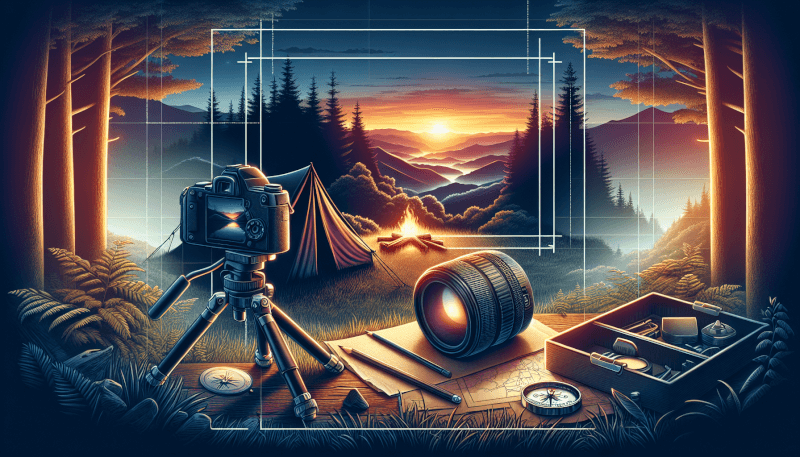
To capture stunning macro photos, it’s important to invest in a dedicated macro lens. Macro lenses offer a 1:1 magnification ratio, allowing you to capture subjects at life size or even larger. They have a short minimum focusing distance, ensuring that you can get up close to your subject and capture the tiniest details with remarkable clarity. Consider the focal length of the macro lens, as longer focal lengths offer a greater working distance, allowing you to maintain distance from your subject and avoid casting shadows.
Finding Interesting Macro Subjects
Finding interesting macro subjects requires keen observation and a willingness to explore your surroundings. Look for vibrant flowers, intricate patterns in leaves, or tiny insects that can become the focal point of your macro photos. Explore areas with rich biodiversity, such as gardens, forests, or even your own backyard. Macro photography allows you to capture the beauty of the miniature world around us, so keep an open mind and be creative in your search for captivating macro subjects.
Controlling Depth of Field in Macro Photography
In macro photography, controlling the depth of field is crucial, as it can significantly impact the overall outcome of your images. Due to the close proximity to your subject and the small depth of field provided by macro lenses, only a small portion of the image will be in sharp focus. Experiment with different aperture settings to control the depth of field and determine which areas of your subject you want to be in focus. A wider aperture (smaller f-stop number) will result in a shallow depth of field, isolating your subject from the background, while a narrower aperture (larger f-stop number) will increase the depth of field, ensuring more of your subject is in focus.
Photographing Wildlife in their Natural Habitat
Capturing photos of wildlife in their natural habitat allows you to document their behavior and interactions while preserving their essence and beauty.
Respecting Wildlife and their Environment
When photographing wildlife, it’s crucial to prioritize their well-being and respect their natural environment. Keep a safe distance from the animals to avoid disturbing or stressing them. Observe their behavior and body language to understand their comfort levels. Be patient and allow the animals to carry on with their natural activities without interference. Remember, the welfare of the wildlife should always come first.
Using Telephoto Lenses for Wildlife Photography
Telephoto lenses are essential tools for capturing wildlife photography as they allow you to photograph animals from a safe distance without disturbing them. These lenses have a longer focal length, enabling you to zoom in and bring distant subjects closer. Whether you come across a majestic deer, a soaring bird, or a tiny squirrel, a telephoto lens will help you capture their beauty and intricate details without causing them distress.
Capturing the Animal’s Behavior and Interaction
Capturing the behavior and interactions of animals is the ultimate goal of wildlife photography. Observe the subjects closely and wait for those unique moments that tell a story. Whether it’s a bird taking flight, animals playing together, or a mother caring for her young, being patient and ready to capture these moments will result in captivating wildlife photos that convey the essence and beauty of nature.
Tips for Photographing Water and Reflections
Water offers endless opportunities for beautiful and ethereal photography. Whether it’s a tranquil lake, a rushing waterfall, or a bubbling stream, capturing water and reflections can add depth and visual interest to your photos.
Utilizing Long Exposure Techniques for Smooth Water
To create the dreamy, smooth water effect often seen in landscape photography, long exposure techniques are key. By using a tripod and selecting a slow shutter speed, the movement of the water blurs, creating a soft and ethereal look. Experiment with different shutter speeds to achieve the desired effect, and use a remote shutter release or the camera’s self-timer to avoid any camera shake.
Creating Stunning Reflections
Reflections in water can add a sense of symmetry and beauty to your photos. Look for calm bodies of water such as lakes, ponds, or even rain puddles to capture reflections. Position yourself to include both the subject and its reflection in your composition. Experiment with different angles and perspectives to create unique and intriguing reflections that enhance the overall visual impact of your image.
Capturing Water Action Shots
Water in motion, such as crashing waves or cascading waterfalls, can be visually captivating. To capture the action and energy of moving water, experiment with faster shutter speeds to freeze the motion and reveal the intricate details of the water droplets. Consider using a wide-angle lens to include more of the scene and emphasize the power and force of the water. Timing is crucial when photographing water action shots, so be patient and ready to press the shutter at the perfect moment.
Editing and Post-processing Techniques
Editing and post-processing your images can take your camping photography to the next level. With the right techniques, you can enhance the colors, tones, and overall visual impact of your photos.
Organizing and Sorting Your Photos
Before diving into the editing process, it’s important to organize and sort through your photos. Create a system for organizing your images, whether it’s by date, location, or subject. Delete any images that are blurry, out of focus, or simply don’t meet your standards. This will make the editing process more streamlined and efficient, allowing you to focus on the best shots.
Adjusting Exposure and White Balance
During the editing process, adjusting the exposure and white balance can make a significant difference in the overall look and feel of your photos. If an image is too bright or too dark, you can adjust the exposure to bring out more details or tone down the highlights. Similarly, adjusting the white balance ensures that the colors in your image are accurate and true to life. By fine-tuning these settings, your photos will appear more vibrant and visually appealing.
Enhancing Colors and Saturation
Enhancing the colors and saturation of your photos can bring them to life and make them more captivating. Use the saturation and vibrance sliders to subtly boost the colors without over-saturating the image. Experiment with selective color adjustments to make certain elements stand out or to create a specific mood. Remember to strike a balance and aim for a natural and pleasing look.
Sharpening and Noise Reduction
After resizing your images for web or print, sharpening is an important step to enhance the overall clarity and detail. Use the sharpening tools available in editing software to bring out the fine details without introducing too much noise. Noise reduction is particularly useful when photographing in low light conditions or using high ISO settings. Apply noise reduction selectively to retain as much detail as possible while reducing the unwanted noise.
Adding Creative Filters and Effects
Adding creative filters and effects can give your photos a unique and artistic touch. Experiment with black and white conversions to create a classic and timeless look. Apply graduated filters to balance exposure and enhance the sky or foreground. Play with vignettes to draw attention to the main subject, or experiment with different textures and overlays to add depth and interest. Remember, editing and adding filters should enhance your image rather than overpower it, so exercise restraint and let your creativity shine.
By combining the right camera equipment, understanding lighting and exposure, mastering composition techniques, and exploring the natural world around you, you can capture breathtaking photos during your camping adventures. With patience, practice, and a passion for nature, you’ll create images that not only showcase the beauty of the outdoors but also evoke a sense of wonder and appreciation. So grab your camera, step into the wilderness, and begin your journey to capturing nature’s beauty through the lens. Happy camping and happy photography!

